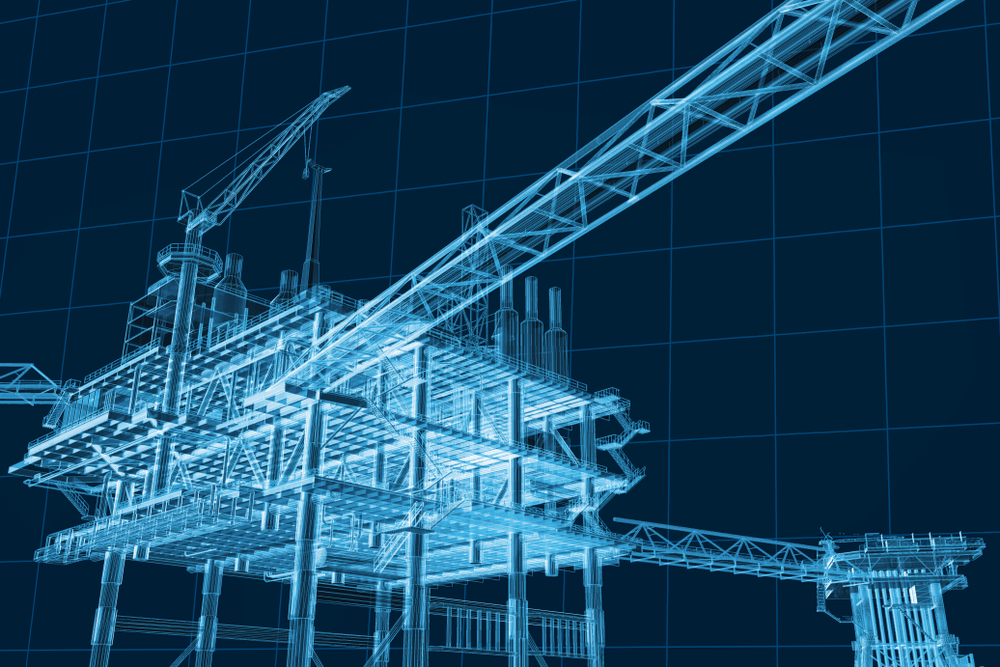
3D scanning is used to create a digital representation of a worksite.
The steel industry has come a long way in recent years. In the past, a draftsperson or site engineer would have to take manual measurements to create a design layout and determine the required materials for a project. Advanced scanning and digital imaging technology have revolutionised this process — a 3D snapshot of a site can be used to create a digital representation, allowing for precise measurements and accurate material planning. Read on to find out more about how 3D scanning works and how it can improve the efficiency and cost-effectiveness of a project…
How does it work?
3D laser scanning is a technique used to measure and collect data from buildings, objects and surfaces with extreme accuracy. Scanning equipment works by collecting information from the relevant object or worksite to create 3D models.
3D scanning has become increasingly advanced in recent years. The most up-to-date scanning procedures use laser beams, advanced sensors, GPS, inertial measurement units (IMU), receiver electronics and photodetectors to calculate the coordinates of a particular target area. The laser scanning systems emit light waves that hit the surfaces and reflect onto the sensor. The sensor then works by calculating how far away the surface is. This distance measure is then used to calculate coordination for the tiny area of the surface that was hit by the laser beam. Millions of coordinates are collected, processed, and used to form a digital representation of the scanned surface. The 3D representation is very accurate and can be used to plan for construction and other applications.
How does it simplify the supply chain?
New drafting and imaging technologies have reduced inefficiencies and increased overall precision in considerable ways. Without this technology, a draftsperson or site engineer would have to take manual measurements to create a design layout. This design layout would then be used to determine what materials are required for a project. When measurements and plans are made manually, there is always the risk of human error. This can lead to over or underestimating the required materials and time delays, and overspending on budgets.
When 3D scanning technology is used, on the other hand, there is no risk of human error. Data and information are fed directly to specialised machinery, which cuts and processes the correct amount of material required for the project. This often reduces the overall cost of a project and ensures that all deadlines are met.
Advanced scanning technology also allows a modern steel processing company to complete all aspects of a job. There is no longer a need to separate the drafting, processing and erection phases, which means that the overall supply chain process is more streamlined than before.
What is it used for?
Besides its use in steel processing and construction, 3D scanning has many other applications. The technology can map and survey roads and buildings, town planning, mining, archaeological projects, and civil engineering-related work. The technology is particularly useful when it is necessary to collect information from inaccessible or hard-to-access areas because it can be mounted onto vehicles or drones.
3D scanning is widely used in a broad range of applications thanks to the potential for 3D models to so accurately simulate projects. The technology reduces the risk of potentially expensive and time-wasting errors significantly and also helps to collect considerable amounts of data in a short period of time.
How can we help?
At BridgeFab, we have simplified our steel processing methods with the help of 3D scanning technology. We have invested in new technology and machinery, which allows us to reduce project inefficiencies, supply chain concerns and overall costs. To find out more about how we use 3D scanning as part of our steel processing services, please have a look here.
To arrange a consultation with us or to request a quote, please don’t hesitate to get in touch.


